You can print your kaleidoscope directly from Kaleidoscope Kreator
by either choosing the File
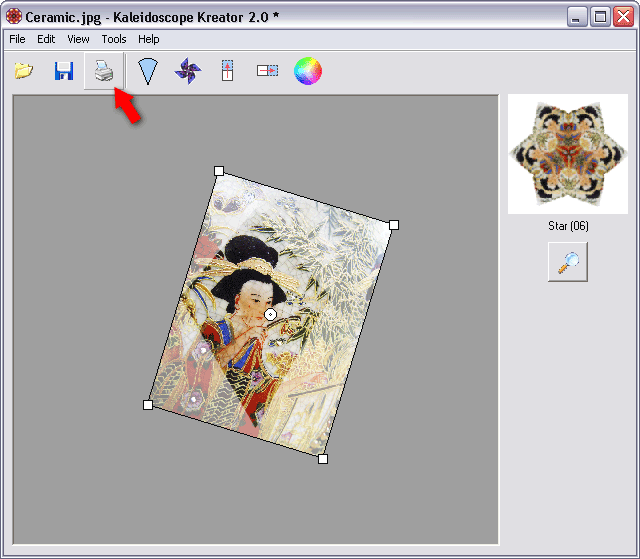
> Print… menu item or clicking on the ![]() Print Kaleidoscope toolbar button.
Print Kaleidoscope toolbar button.
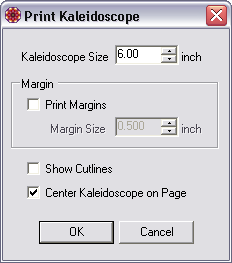
This displays the Print Kaleidoscope dialog, where you can specify the size and image quality of the printed kaleidoscope, print margins, and whether the kaleidoscope should be centered on the printed page.
|
|
Use the Kaleidoscope Size field to specify the desired size of the kaleidoscope.
If Print Margins is checked, the kaleidoscope will be surrounded by a margin as specified in the Margin Size field (plus whatever additional margins are required by your printer).
If Show Cutlines is checked, a thin cutline will be drawn around the outside of the kaleidoscope or margin. The color of the cutline can be modified via the Options dialog.
If Center Kaleidoscope on Page is checked, the kaleidoscope will be centered horizontally and vertically on the printed page.
After making your selections, click OK to view the standard Windows® Print dialog. Kaleidoscope Kreator will then generate the kaleidoscope and send it to the printer.
|
Note: Kaleidoscope Kreator does not save the
kaleidoscope it generates for the printer; instead, it generates a new kaleidoscope
each time the print function is selected. If you want multiple copies of the
same kaleidoscope, use the Print Multiple
custom print option, or set the number of copies to print in the Windows®
Print dialog.